How To Draw A Party Hat
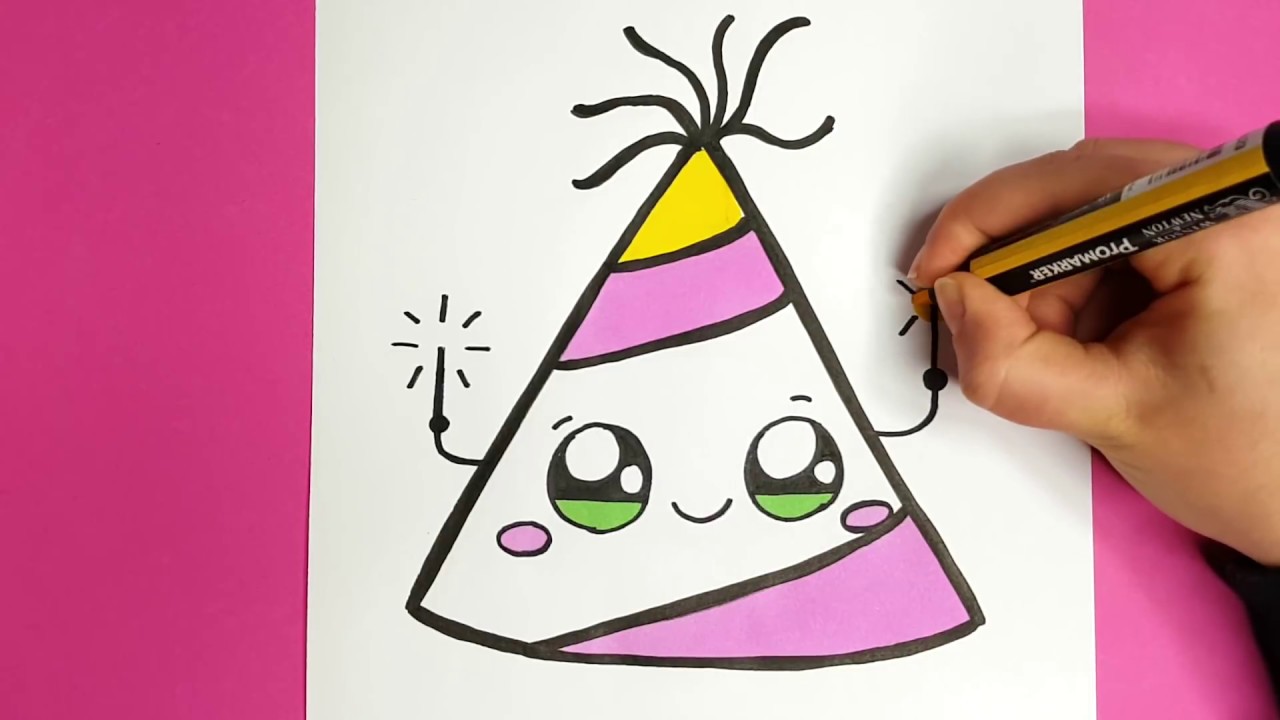
How To Draw A Party Hat - This can be at a slant which will make the inside of the hat slightly visible. Please like, comment, and share. These will be the sides of the hat. This cute hat is ready to celebrate at a happy new year party! At the top of the vertical line, draw a triangle to create the cone shape of the hat. This will create the base of your party hat. Glue, tape, or staple the paper together at the seam. To finish the hat, connect the bottom of the two lines with a curved line. Web how to draw party hat from letter a | easy party hat drawing tutorial | party hat drawing | letter drawing drawing a party hat from the letter a is a creative and fun exercise that involves. The new lines in each step is made of blue so you can see the current shapes that you will be working on. Extending from the top of the hat, draw two straight lines downwards. Web this is a short version of this drawing tutorial: These will be the sides of the hat. In this tutorial, we'll walk you through the steps to draw a party hat that is easy and fun. Web the tighter you pull the cone together, the taller and thinner your hat will appear. This will be the circumference of the hat. At the top of the vertical line, draw a triangle to create the cone shape of the hat. How to draw a party hat. This can be at a slant which will make the inside of the hat slightly visible. To create your party or birthday hat shape, start with a triangle for the body, then draw an oval at the bottom for the opening. Web the tighter you pull the cone together, the taller and thinner your hat will appear. Web learn to draw a cute party hatstore: Step 2 add outline the hat Follow along to learn how to draw this festive party hat easy, step by step. Web begin by drawing a curved line. To ensure the artwork is successful, we will notice the different sizes and shapes of each part of the birthday hat. You will need some materials to make the drawing. After the first coat has dried for at least 20 minutes, repeat with a second coat if desired. Sketch out an uneven line at the very bottom. The new lines. Glue, tape, or staple the paper together at the seam. Finally, we'll add some details to make it even more festive. After the first coat has dried for at least 20 minutes, repeat with a second coat if desired. Learn techniques to capture the shape, perspective, and details of various hat styles. These will be the sides of the hat. Web follow along to learn how to draw this festive party hat easy, step by step. You will need some materials to make the drawing. Add a smaller circle to the center. Learn techniques to capture the shape, perspective, and details of various hat styles. Web in this video, you will learn how to draw and color a super cute. Add a smaller circle to the center. To create your party or birthday hat shape, start with a triangle for the body, then draw an oval at the bottom for the opening. Start with a half circle. After the first coat has dried for at least 20 minutes, repeat with a second coat if desired. You will need some materials. Step 2 add outline the hat In this tutorial, we'll walk you through the steps to draw a party hat that is easy and fun. We'll start by drawing the base of the hat, then add the top part and the ribbon. Web begin by drawing a curved line. Add a smaller circle to the center. Finally, add a few details to give your hat some personality! Hold the two pieces together for a minute or two so the glue sticks. Web this cute hat is ready to celebrate at a happy new year party! Web this party hat is perfect for birthdays, new year's eve, or any other celebration! Extending from the top of the. To finish the hat, connect the bottom of the two lines with a curved line. Web with just a few simple strokes, you can draw a party hat that looks like it was bought from a store. To create your party or birthday hat shape, start with a triangle for the body, then draw an oval at the bottom for. The new lines in each step is made of blue so you can see the current shapes that you will be working on. Follow along to learn how to draw this festive party hat easy, step by step. Web this cute hat is ready to celebrate at a happy new year party! Web this is a short version of this. Web how to draw party hat. Web begin by drawing a curved line. Finally, we'll add some details to make it even more festive. Use a glue stick or liquid glue if you want a clean seam. Discover the art of drawing hats with our collection of 40 instructional video lessons. How to draw a party hat. Then, connect the ends of the horizontal line to the top point of the vertical line, forming a triangle. Add the sides of the hat. Web learn to draw a cute party hatstore: Learn techniques to capture the shape, perspective, and details of various hat styles. ️ supplies you might love (amazon affiliate links): You will need some materials to make the drawing. Place your pencil at one corner of your paper, and draw a half circle that’s the size you want your party hat to be. Step 2 add outline the hat These will be the sides of the hat. Finally, we'll add some details to make it even more festive. Allow to dry before removing the masking tape. After the first coat has dried for at least 20 minutes, repeat with a second coat if desired. Use a glue stick or liquid glue if you want a clean seam. Unleash your creativity and start drawing fashionable hats! Web learn to draw a cute party hatstore:
How to Draw a BIRTHDAY HAT!!! YouTube

HOW TO DRAW A CUTE PARTY HAT
How to Draw a Party Hat Easy and Cute

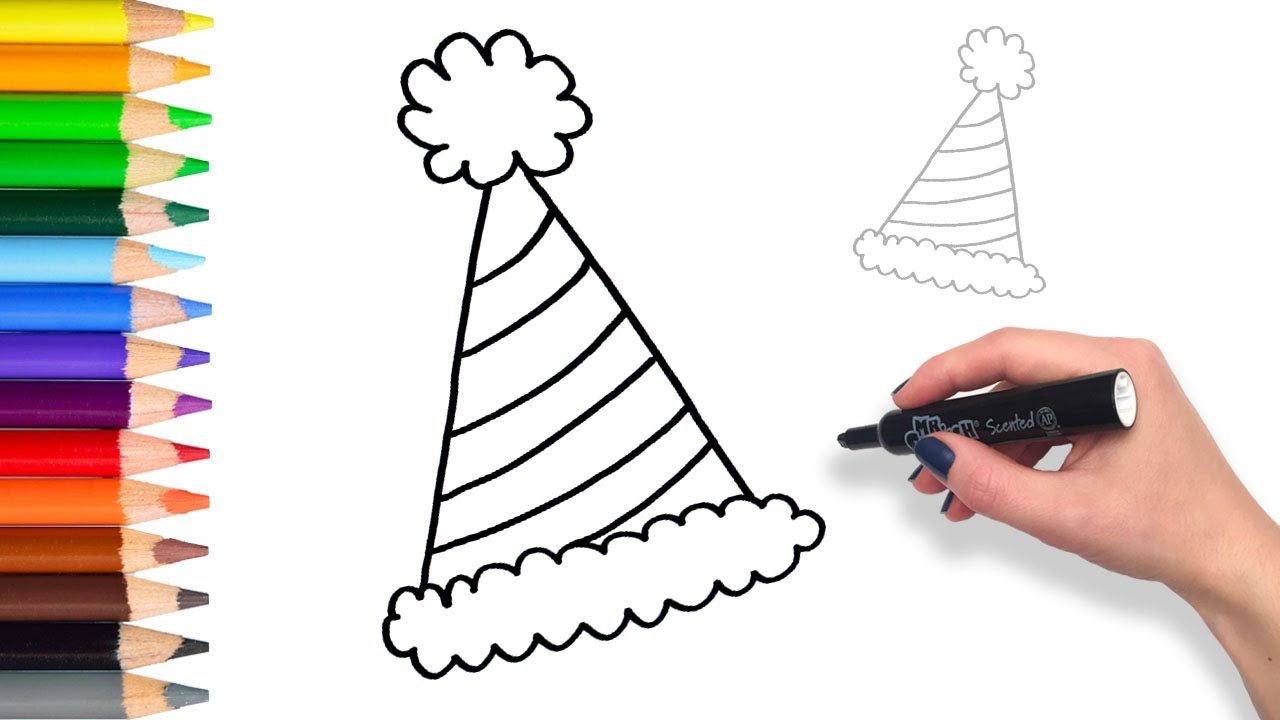
How to Draw a Party Hat Easy Cute Party Hat Coloring Pages Learn
How to Draw Party Hat, Hats

How to draw a Party Hat. Learn colors for Kids Kids Painting YouTube

Birthday Party Hat Step by Step Drawings Woo! Jr. Kids Activities
Learn How to draw Party Birthday Hat Teach Drawing for Kids and
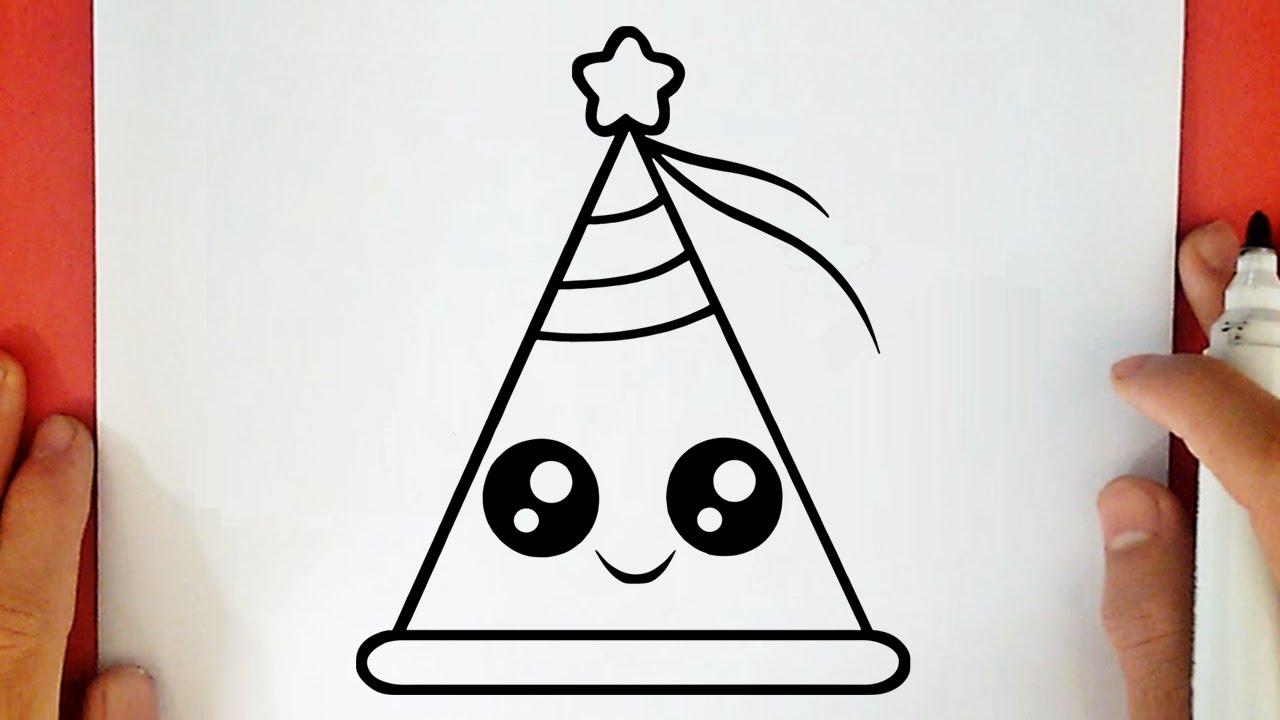
HOW TO DRAW A CUTE PARTY HAT YouTube
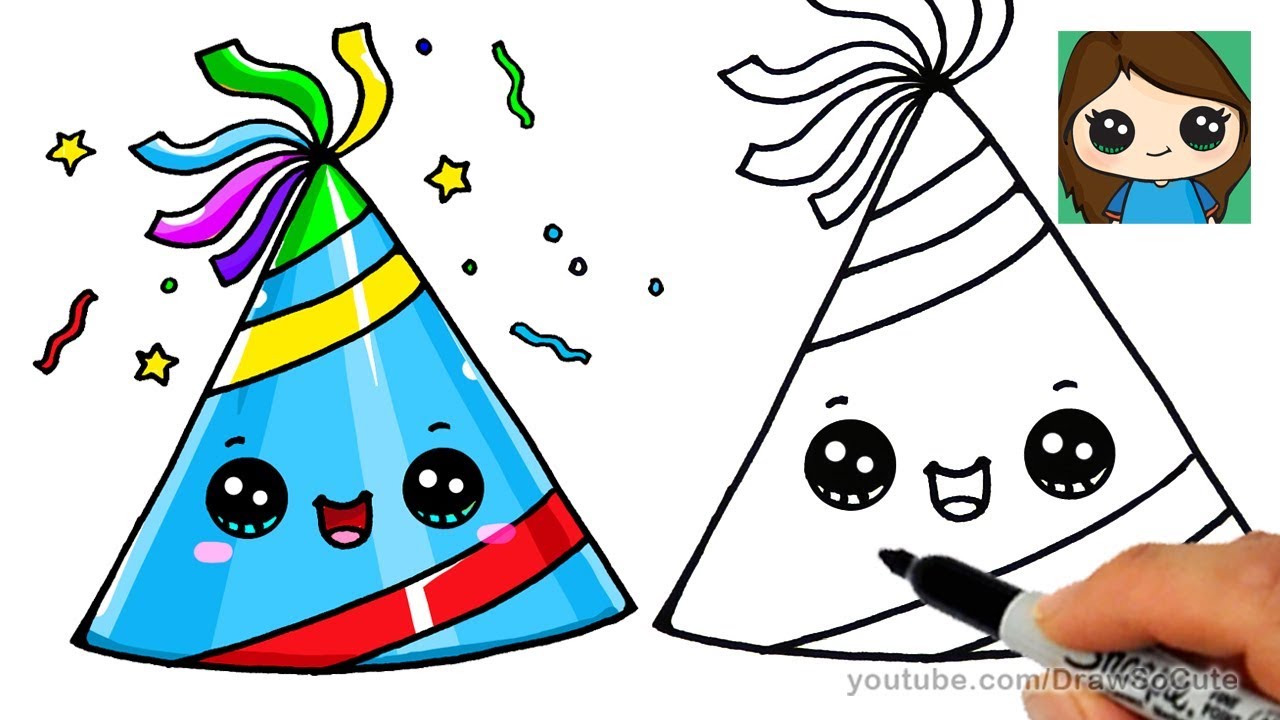
How to Draw a Party Hat Easy and Cute Happy New Year YouTube
Fun, Kawaii Drawings For Kids.
Start By Drawing A Small Horizontal Line Above The Vertical Line.
Web Begin By Drawing A Curved Line.
Decide What Size Your Drawing Will Be And Draw An Even Ellipse.
Related Post: